TimeTonic allows you to create online forms.
The aim is to allow people outside TimeTonic to to fill in lines in your SmartPages.
To do this, we start by creating a new view.
So I will name it and apply the restrictions I want, i.e. hide or restrict the fields I don't want to share.
Of course,I can decide to create read/write fields, read-only fields or make them invisible.
I save with my views, my restrictions.
I also have the possibility to add default values.
Here, I ask that my lines are necessarily new.
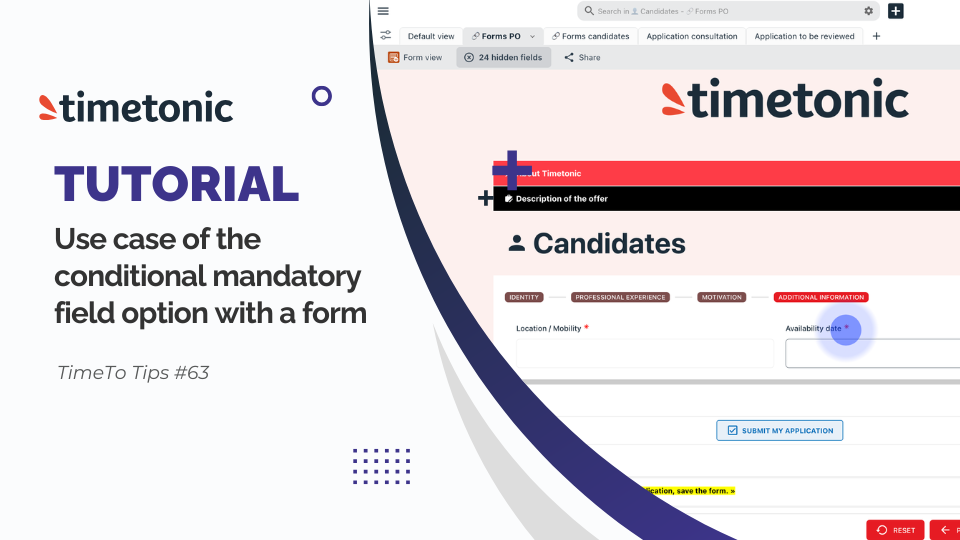
I can now come and share my form by filling in all the necessary fields.
I can decide to apply a logo or a cover image on my form.
I can also apply a redirect link and protect it with a captcha.
I now create the sharing URL for my view and I have the choice to copy/paste it to share it behind, but I can also decide to embed this code, i.e, to add it on my website so that its layout fits with the one of my website.
Now you know how to create a form.
Once the form is created, simply click on the « Share button », to retrieve the URL and you can now, paste it on any URL or behind a button to use it.
I am indeed redirected to my TimeTonic homepage since this is the redirection page I had requested.
Now, when I go back to TimeTonic, I can actually see that my registration has arrived.